Google Tag Manager (GTM)
Google Tag Manager is a free tool that allows marketers to add and update website tags including remarketing, site analytics, and conversion tracking— in a super easy fashion, with just a few clicks.
Step-by-step deployment guide
Google Tag Manager is a useful tool that removes the pain staking method of editing the website code again and again. Especially, when a site owner is trying few third party services to market his business.
In short, Tag Manager gives you a friendly user interface that walks you through creating tags step-by-step, which eliminates the need to have extensive experience with JavaScript. Following is a step by step walk through on PushAssist integration with Google Tag Manager.
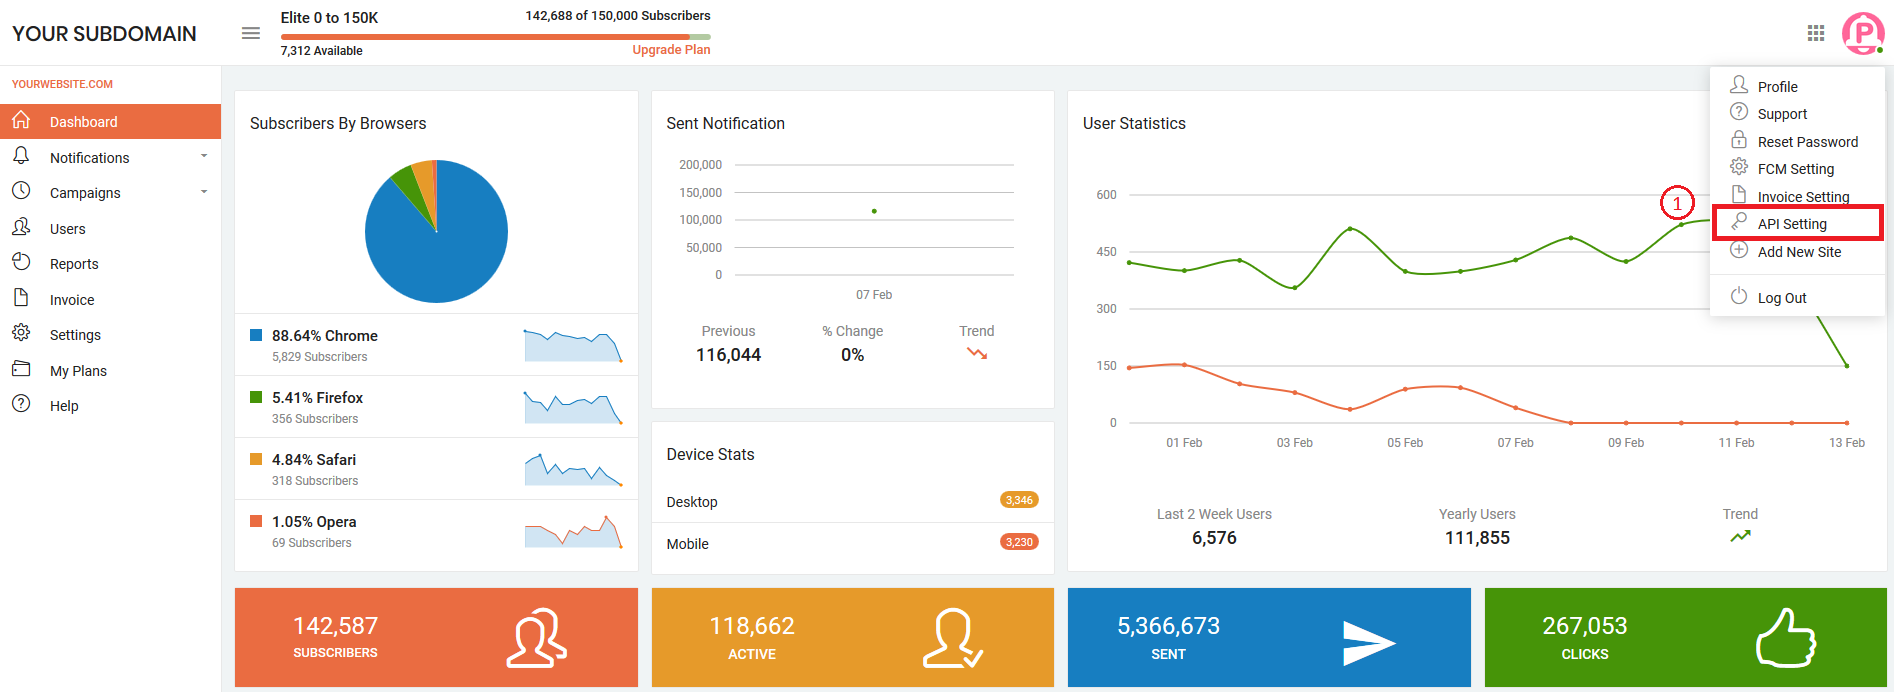
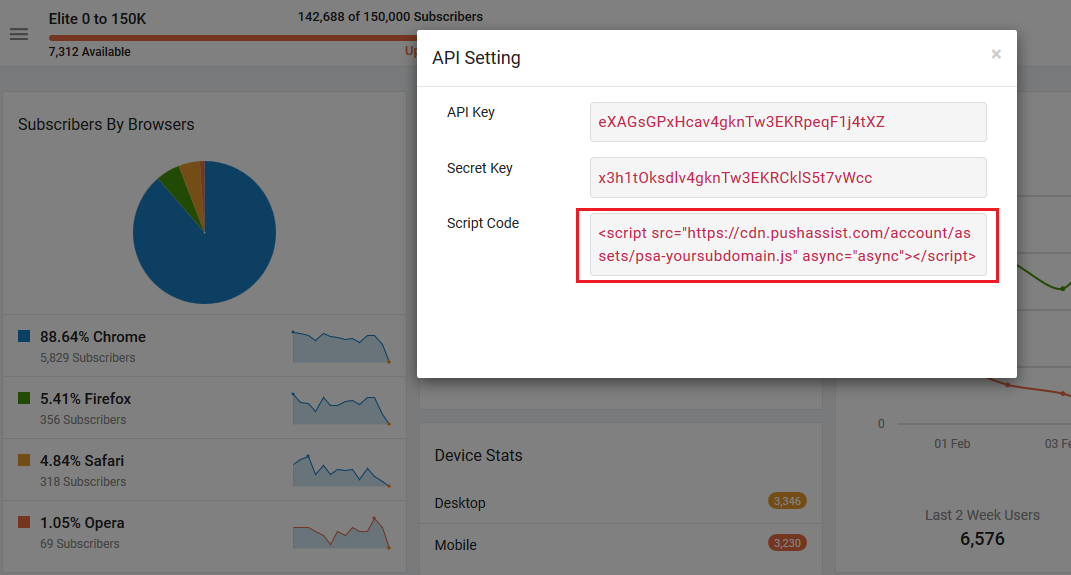
Step 1: Log on to your PushAssist account control panel. Click on top right your logo icon, one drop down menu will open, click on API Setting Menu it will open one Pop-up window, Copy your Script code.
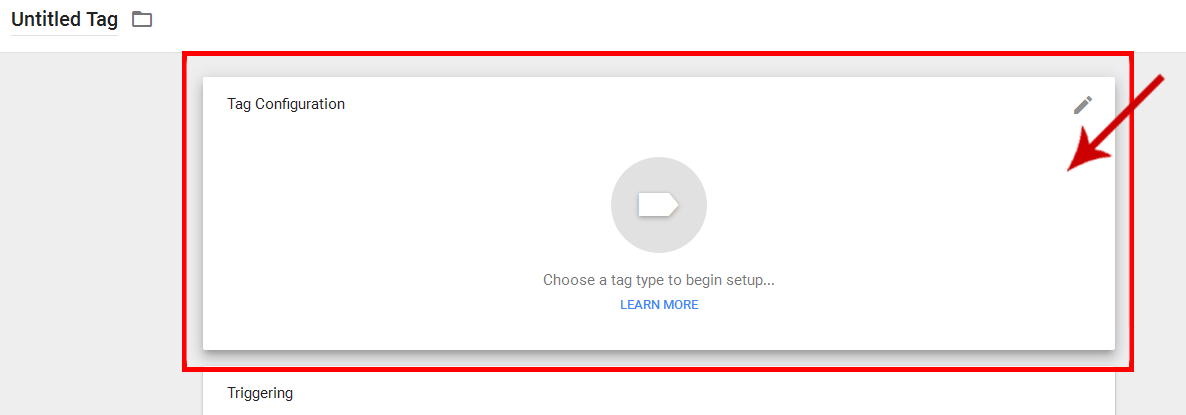
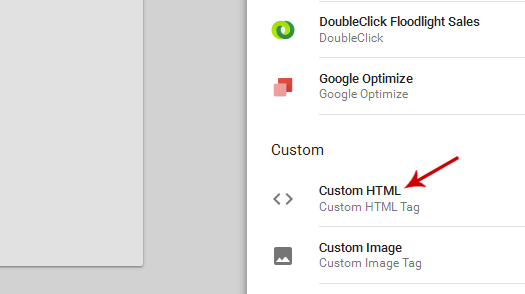
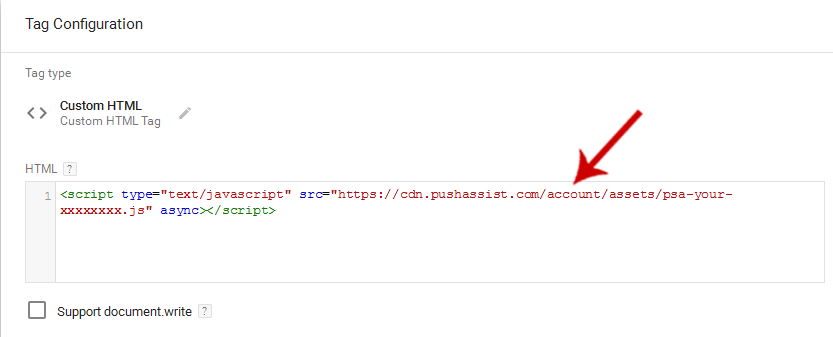
Step 2: Log on to your Google Tag Manager. Click Tag Configuration and then go to Custom HTML Tag at the right hand menu option for the currently used container.
Step 3: Copy and Paste the JS Code displayed under "Tag Configuration" => HTML text box on PushAssist Control Panel.
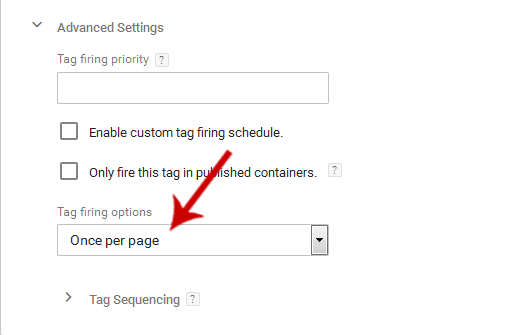
Step 4: Then click on Advanced Settings and choose the Once per page, tag firing option as shown in the screenshot below.
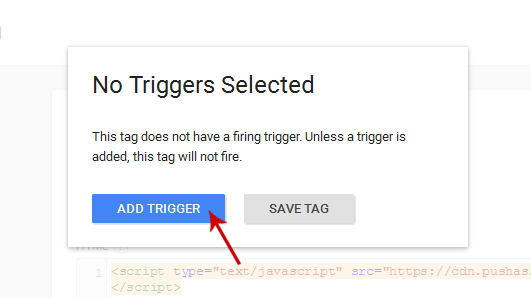
Step 5: Under Triggering, choose All Pages to start collecting subscribers. You can also set exception pages where you don't want to show opt-in.

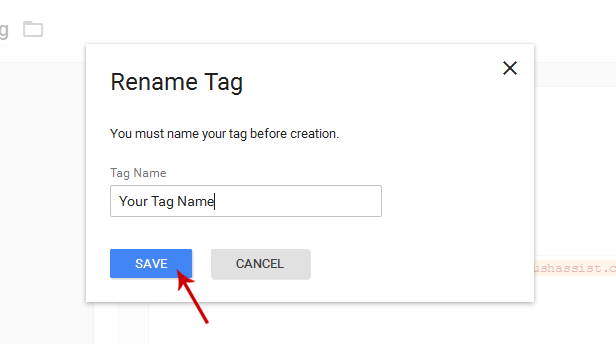
Step 6: Click Save at the top right section of the tag manager page
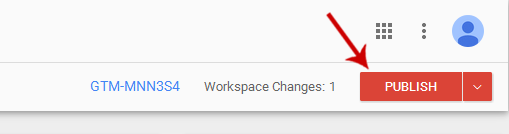
Step 7: If you are you are using Google Tag Manager for the first time, then click Publish at the top right section of the WORKSPACE page. If already a GTM user then it must have been already published on your site/store.
Note: First time GTM users with PushAssist, don't forget to add the container snippet to your site as specified in the Google Tag Manager Set-up guides.
For assistance just write to us at- [email protected]