Segment your audience for targeted campaigns
PushAssist offers a quick and easy way to segment visitors who browse specific pages or of your website, who you can target and send notifications. To segment your visitors with Google Tag Manager (GTM) you need to perform the following steps:
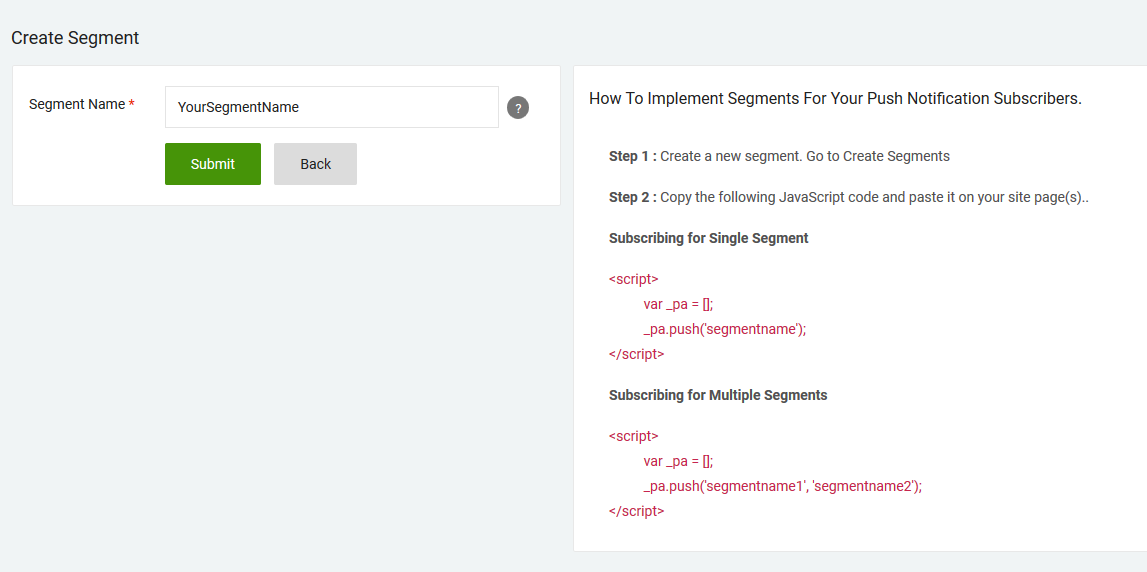
Let us consider that we are creating two segments, namely, segment1 & segment2
Step 1: Login into PushAssist account / control panel.
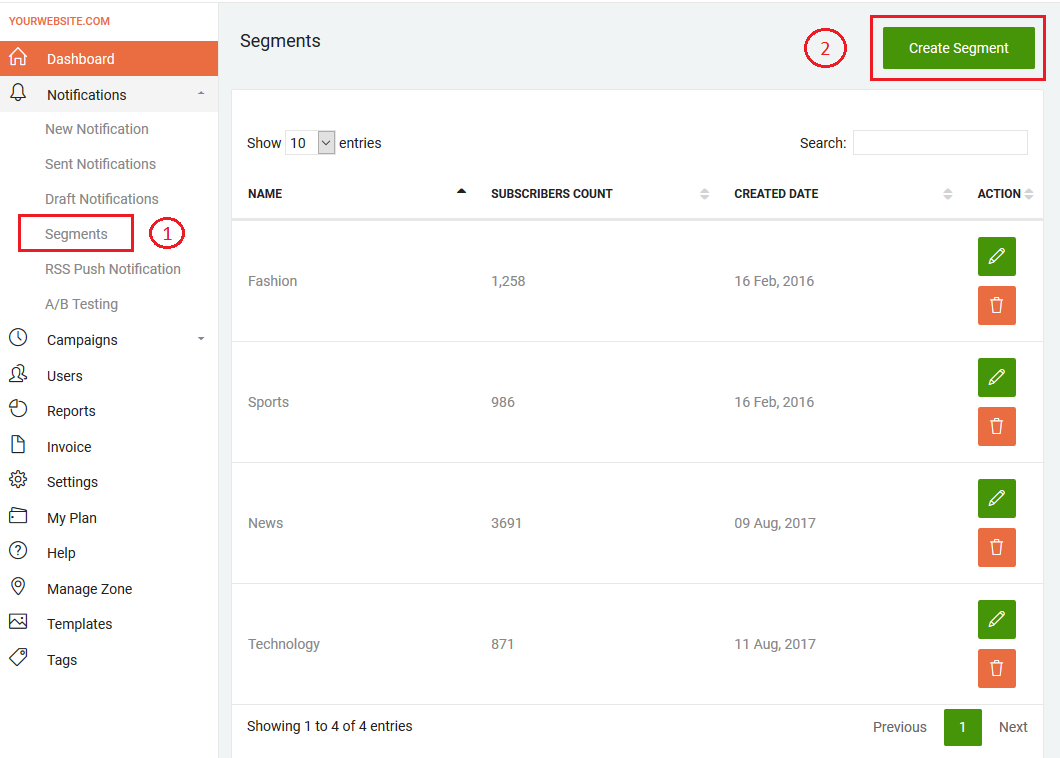
Step 2: Click on Notifications Menu Select Segments tab and then click on create segment
Step 3: Create Your Segment
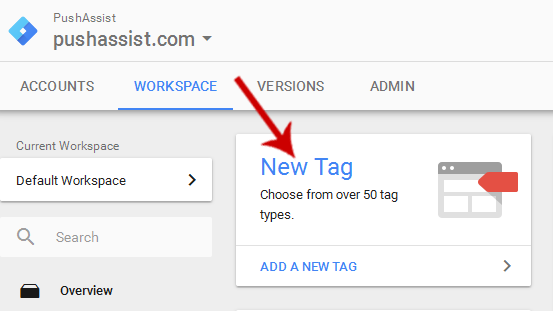
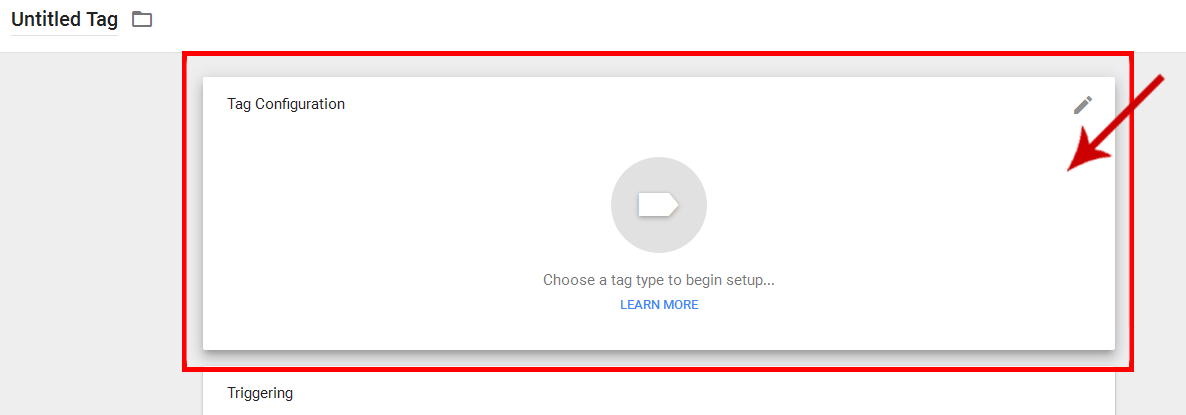
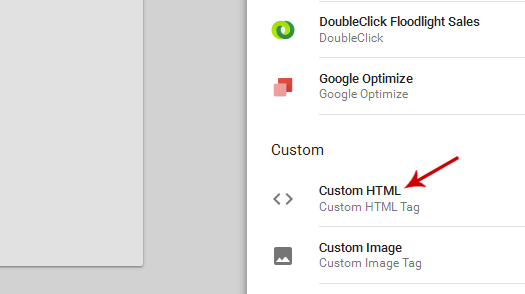
Step 4: Log on to your Google Tag Manager (GTM) account and choose the appropriate container. Click New Tag and then click Custom HTML Tag at the right hand menu option for the container.
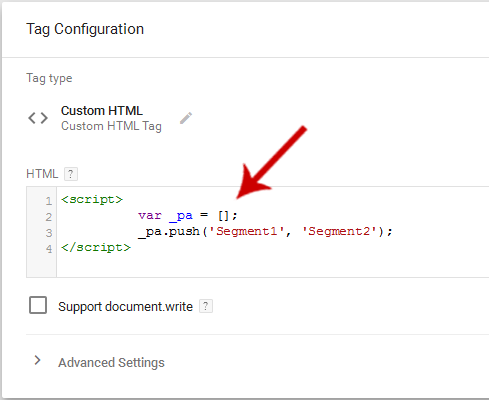
Note: In this case, we assume that our script is installed via GTM on your site.